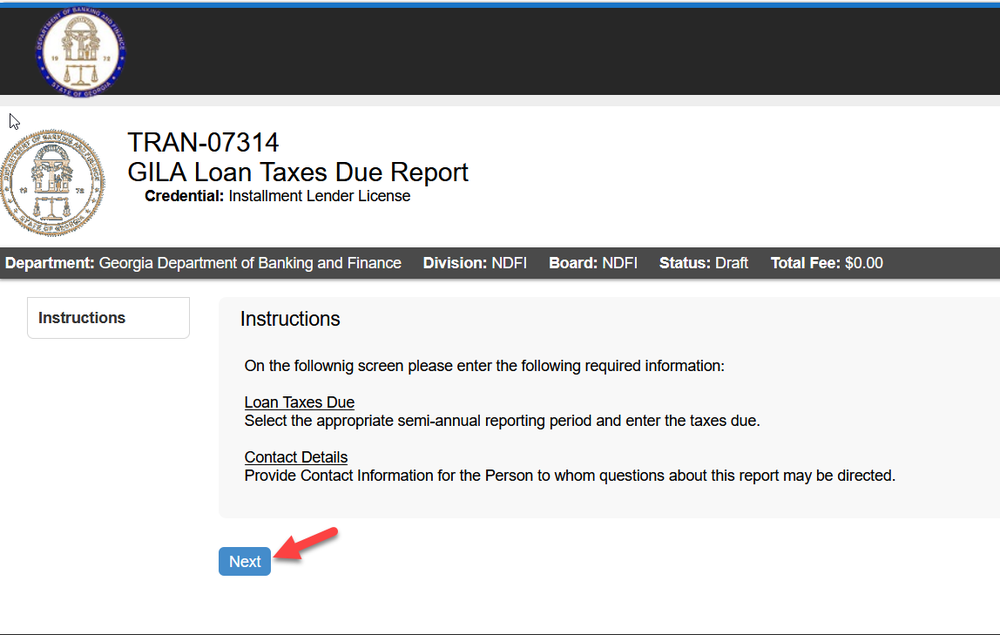
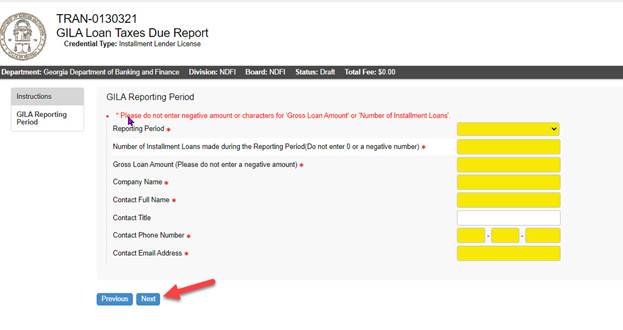
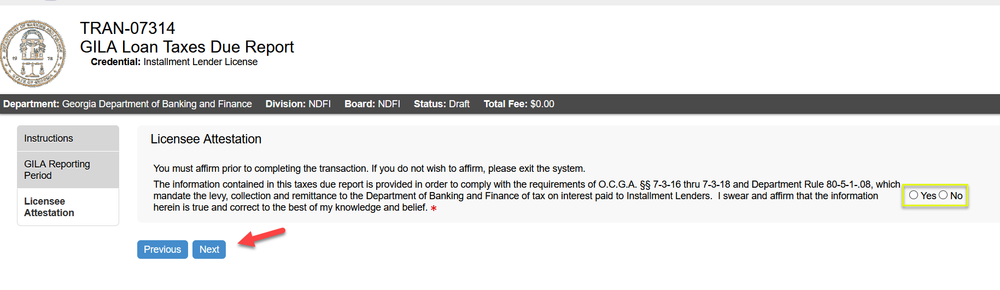
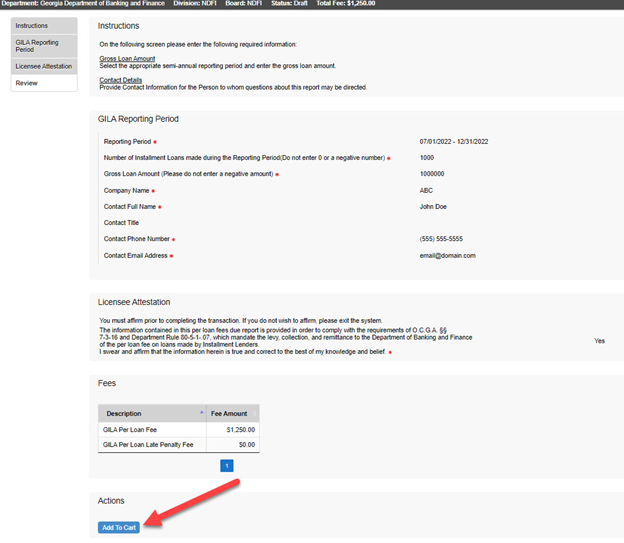
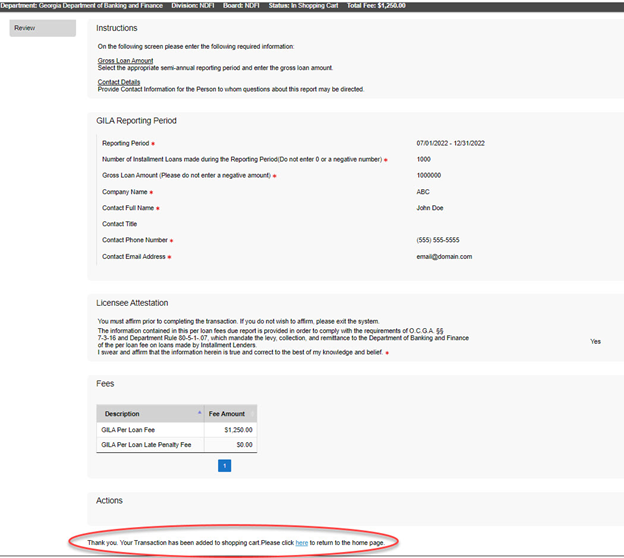
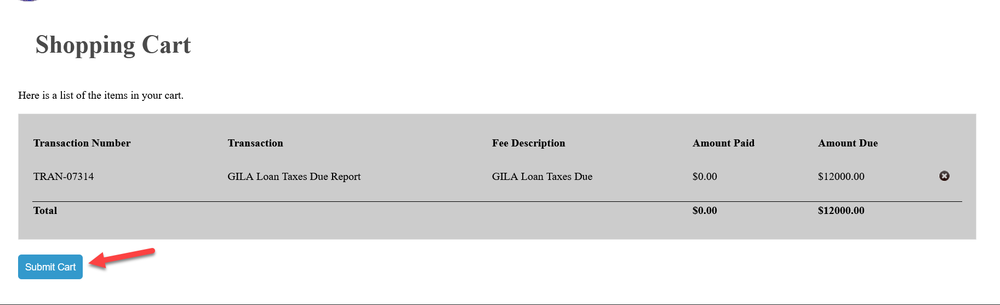
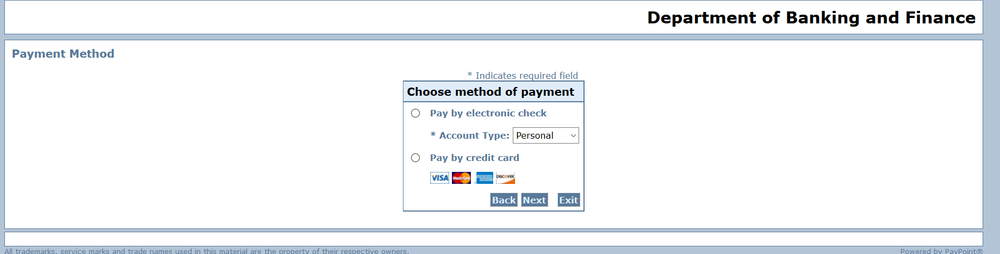
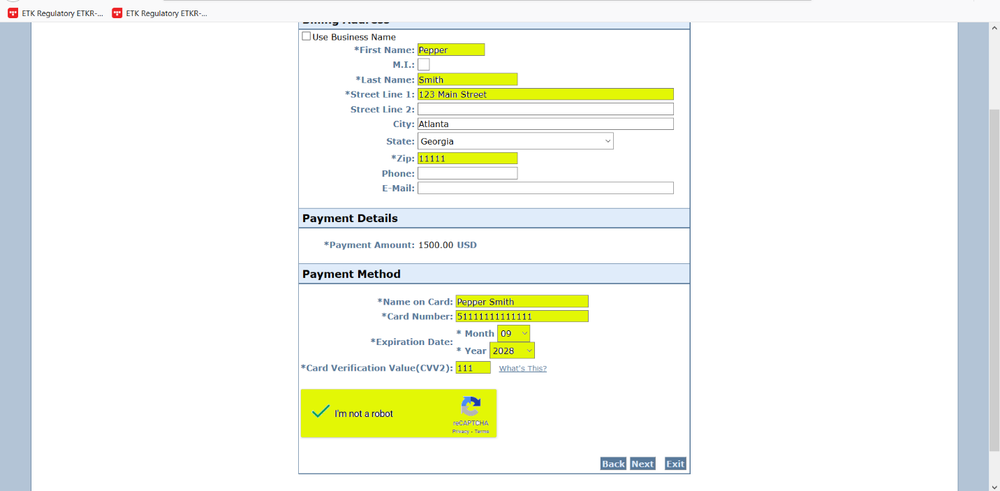
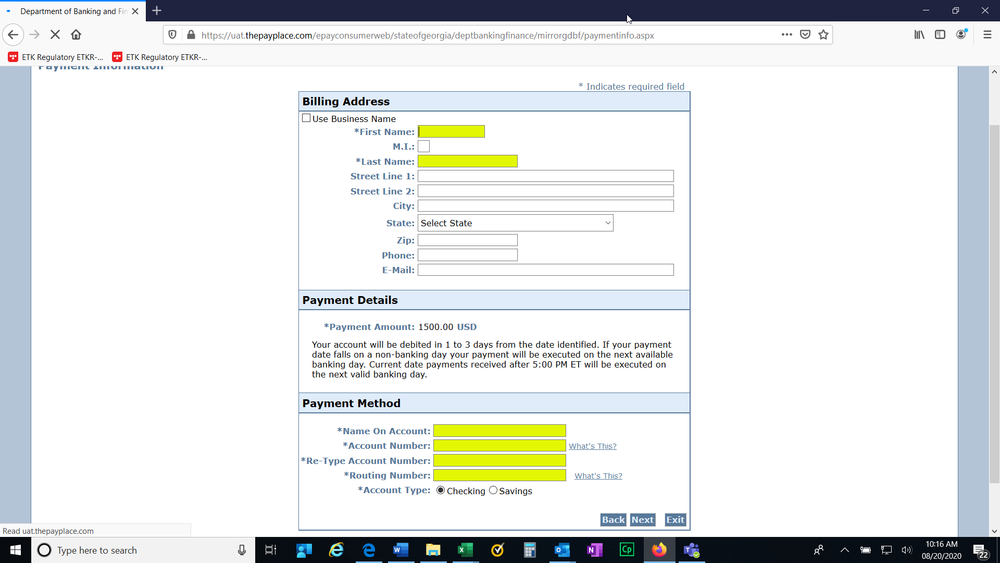
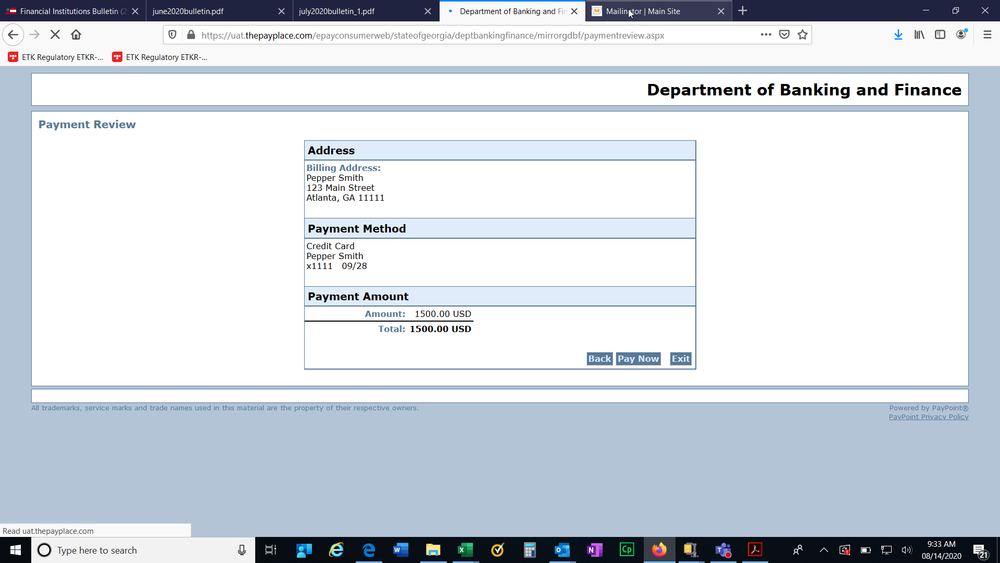
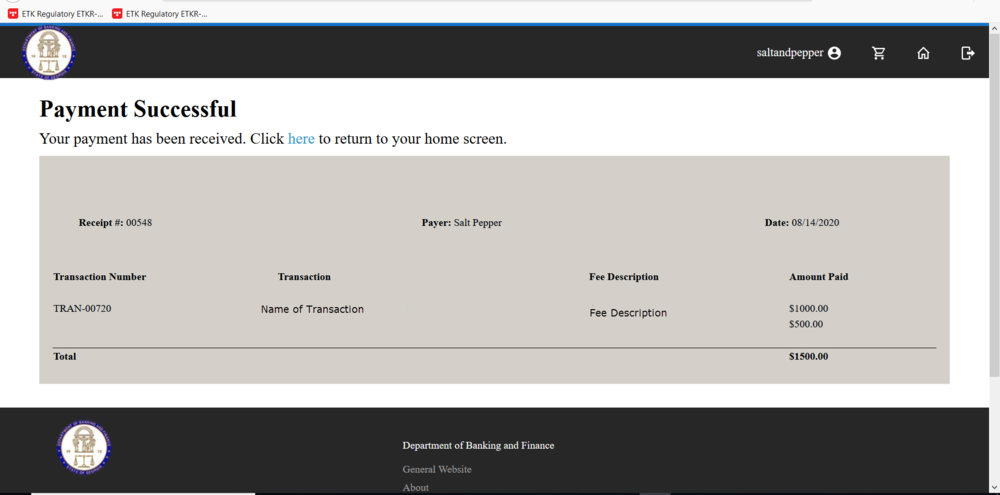
Please review important information below about submitting a successful GILA payment. You will have the option to print or download the instructions below. 

  • Registering as a New Online User

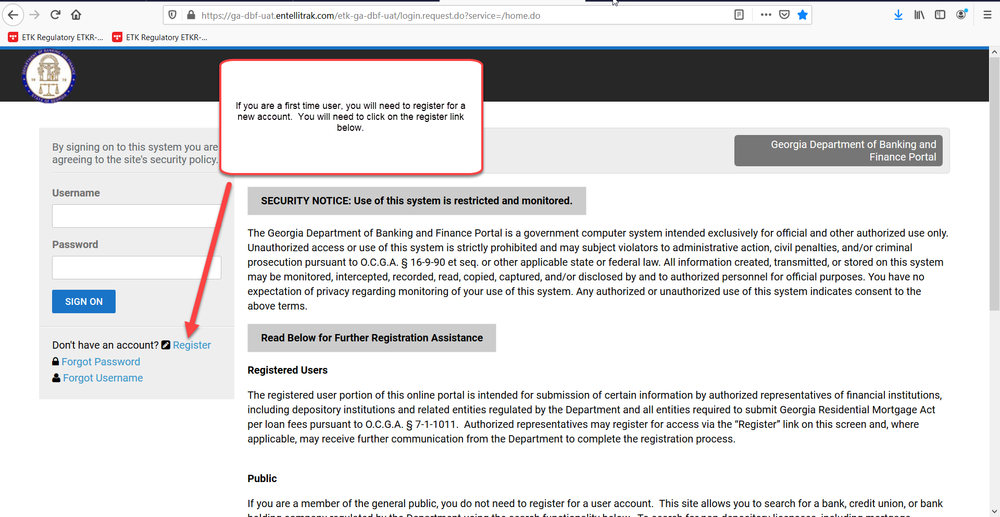
    If you are a first-time user, you will need to register for a new account.  Please click on the register link.

    Directions for GILA 01


  • Once you click on register, you will be asked to provide the following required information:

    • First Name

    • Last Name

    • Username – This is a username that you will create.

    • Email Address

    • Confirm Email Address

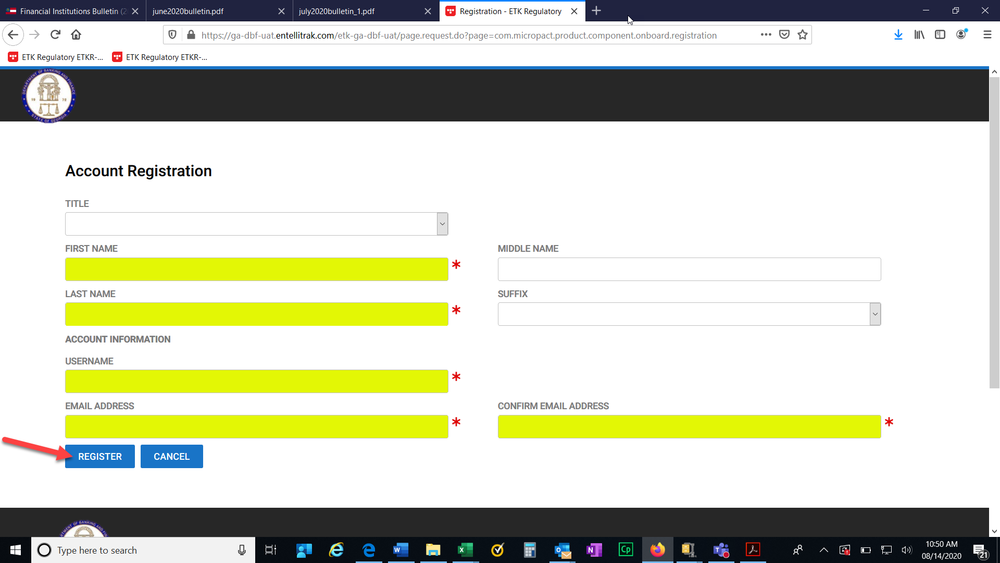
    Once you have provided the above information, you will need to click register.

    Directions for GILA 02
  • After clicking register, you should receive a confirmation screen that will allow you to return to login. You will need to check your email for the temporary password that will be sent to you in order to login to the system.

    Directions for GILA 03
  • Once you click the link to login, you will need to provide your username and temporary password. Then click Sign On.

    Directions for GILA 04
  • Paying Your GILA Submission

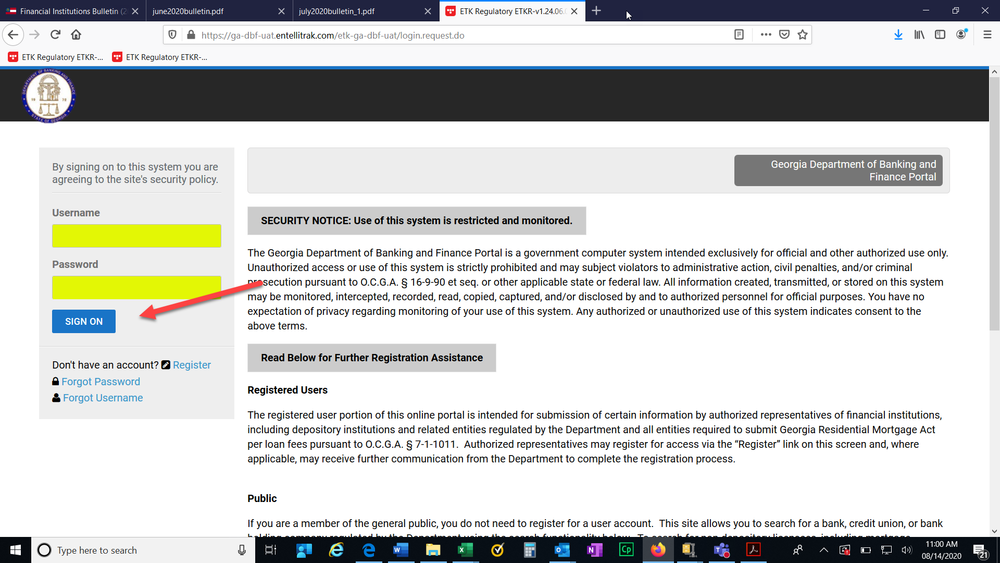
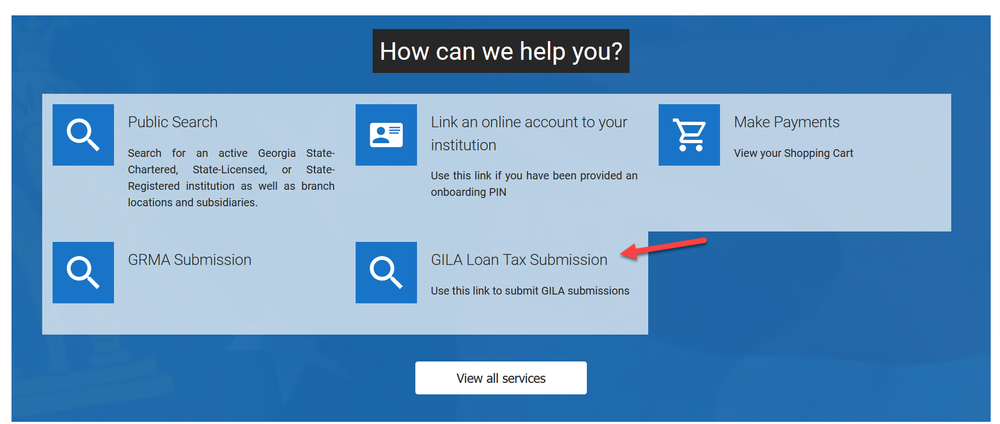
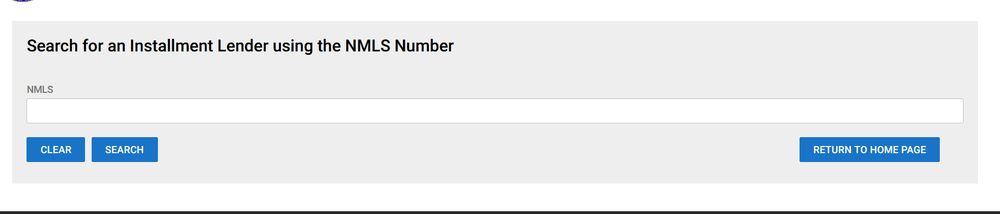
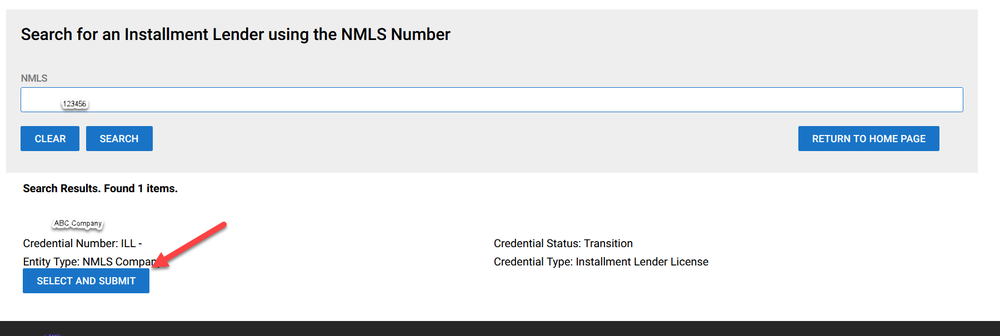
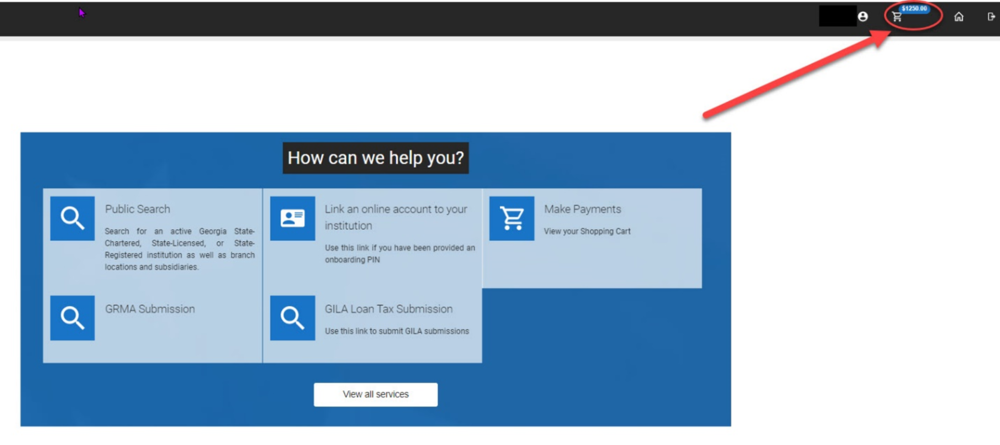
    Next you will need to provide your GILA submission.  You will scroll down until you see the applications and other requests section.  Click on View transactions.

    Directions for GILA 05
  • You will need to enter your NMLS number and click search.

    Directions for GILA 06
  • You should see the entity that corresponds to the NMLS number that you submitted. Click select and submit for the approved selection.

    Directions for GILA 07
  • You will need to review the instructions on the screen and then click next.

    Directions for GILA 08
  • The items highlighted are required. All other information is optional. Then click Next.

    Directions for GILA 09 - Replace
  • Please review the following statement. When you submit the information to us, you are attesting that it is true and correct to the best of your knowledge. You will not be able to move forward if you click no and you will need to contact the Department.

    Directions for GILA 10
  • Once you click next, you will have an opportunity to review the information that you inputted prior to submitting your GILA Submission and paying. Once you click add to cart, you will not be able to make any changes to the transaction.

    Directions for GILA 11
  • Once you click Add to Cart, you will receive a thank you message at the bottom of the page. Please click on the here link to submit your payment.

    Directions for GILA 12
  • Click on the shopping cart at the top of the page.

    Directions for GILA 13
  • This screen will show you the amount that you owe. Click Submit Cart.

    Directions for GILA 14
  • The next screen will take you to our payment site. You can choose to pay by check or credit card.

    Directions for GILA 15
  • Please complete the required fields for a credit card payment. These fields are highlighted below. Then click Next.

    Directions for GILA 16
  • Please complete the required fields for a check payment. These fields are highlighted below. Then click Next.

    Directions for GILA 17
  • The next screen will be a confirmation of the information that you just entered along with the amount that you are paying. Click Pay now.

    Directions for GILA 18
  • Once your payment processed, you will receive a payment successful screen. You have now completed the online payment for GILA per loan fee. You may log out of the system.

    Directions for GILA 19
  • Download the Instructions

     You can Download the Instructions by clicking the following link: Download this pdf file. Download Instructions